
Hollywood Smile Procedure: A Step-by-Step Guide
Understanding the full Hollywood Smile procedure from start to finish can make the entire experience feel far less intimidating, especially if you are traveling abroad for treatment. While the overall concept is simple, a full arch of veneers or crowns designed to look natural and uniform, the process behind it involves several distinct clinical stages, each with its own purpose.
This guide walks through every step of the Hollywood Smile procedure in detail, so you know exactly what happens at each stage, how long it typically takes, and what to expect along the way. For general oral health guidance, you can also review resources from the American Dental Association and the National Institutes of Health. You can also read our related guides on digital smile design clinics in Istanbul and Hollywood Smile hidden costs.
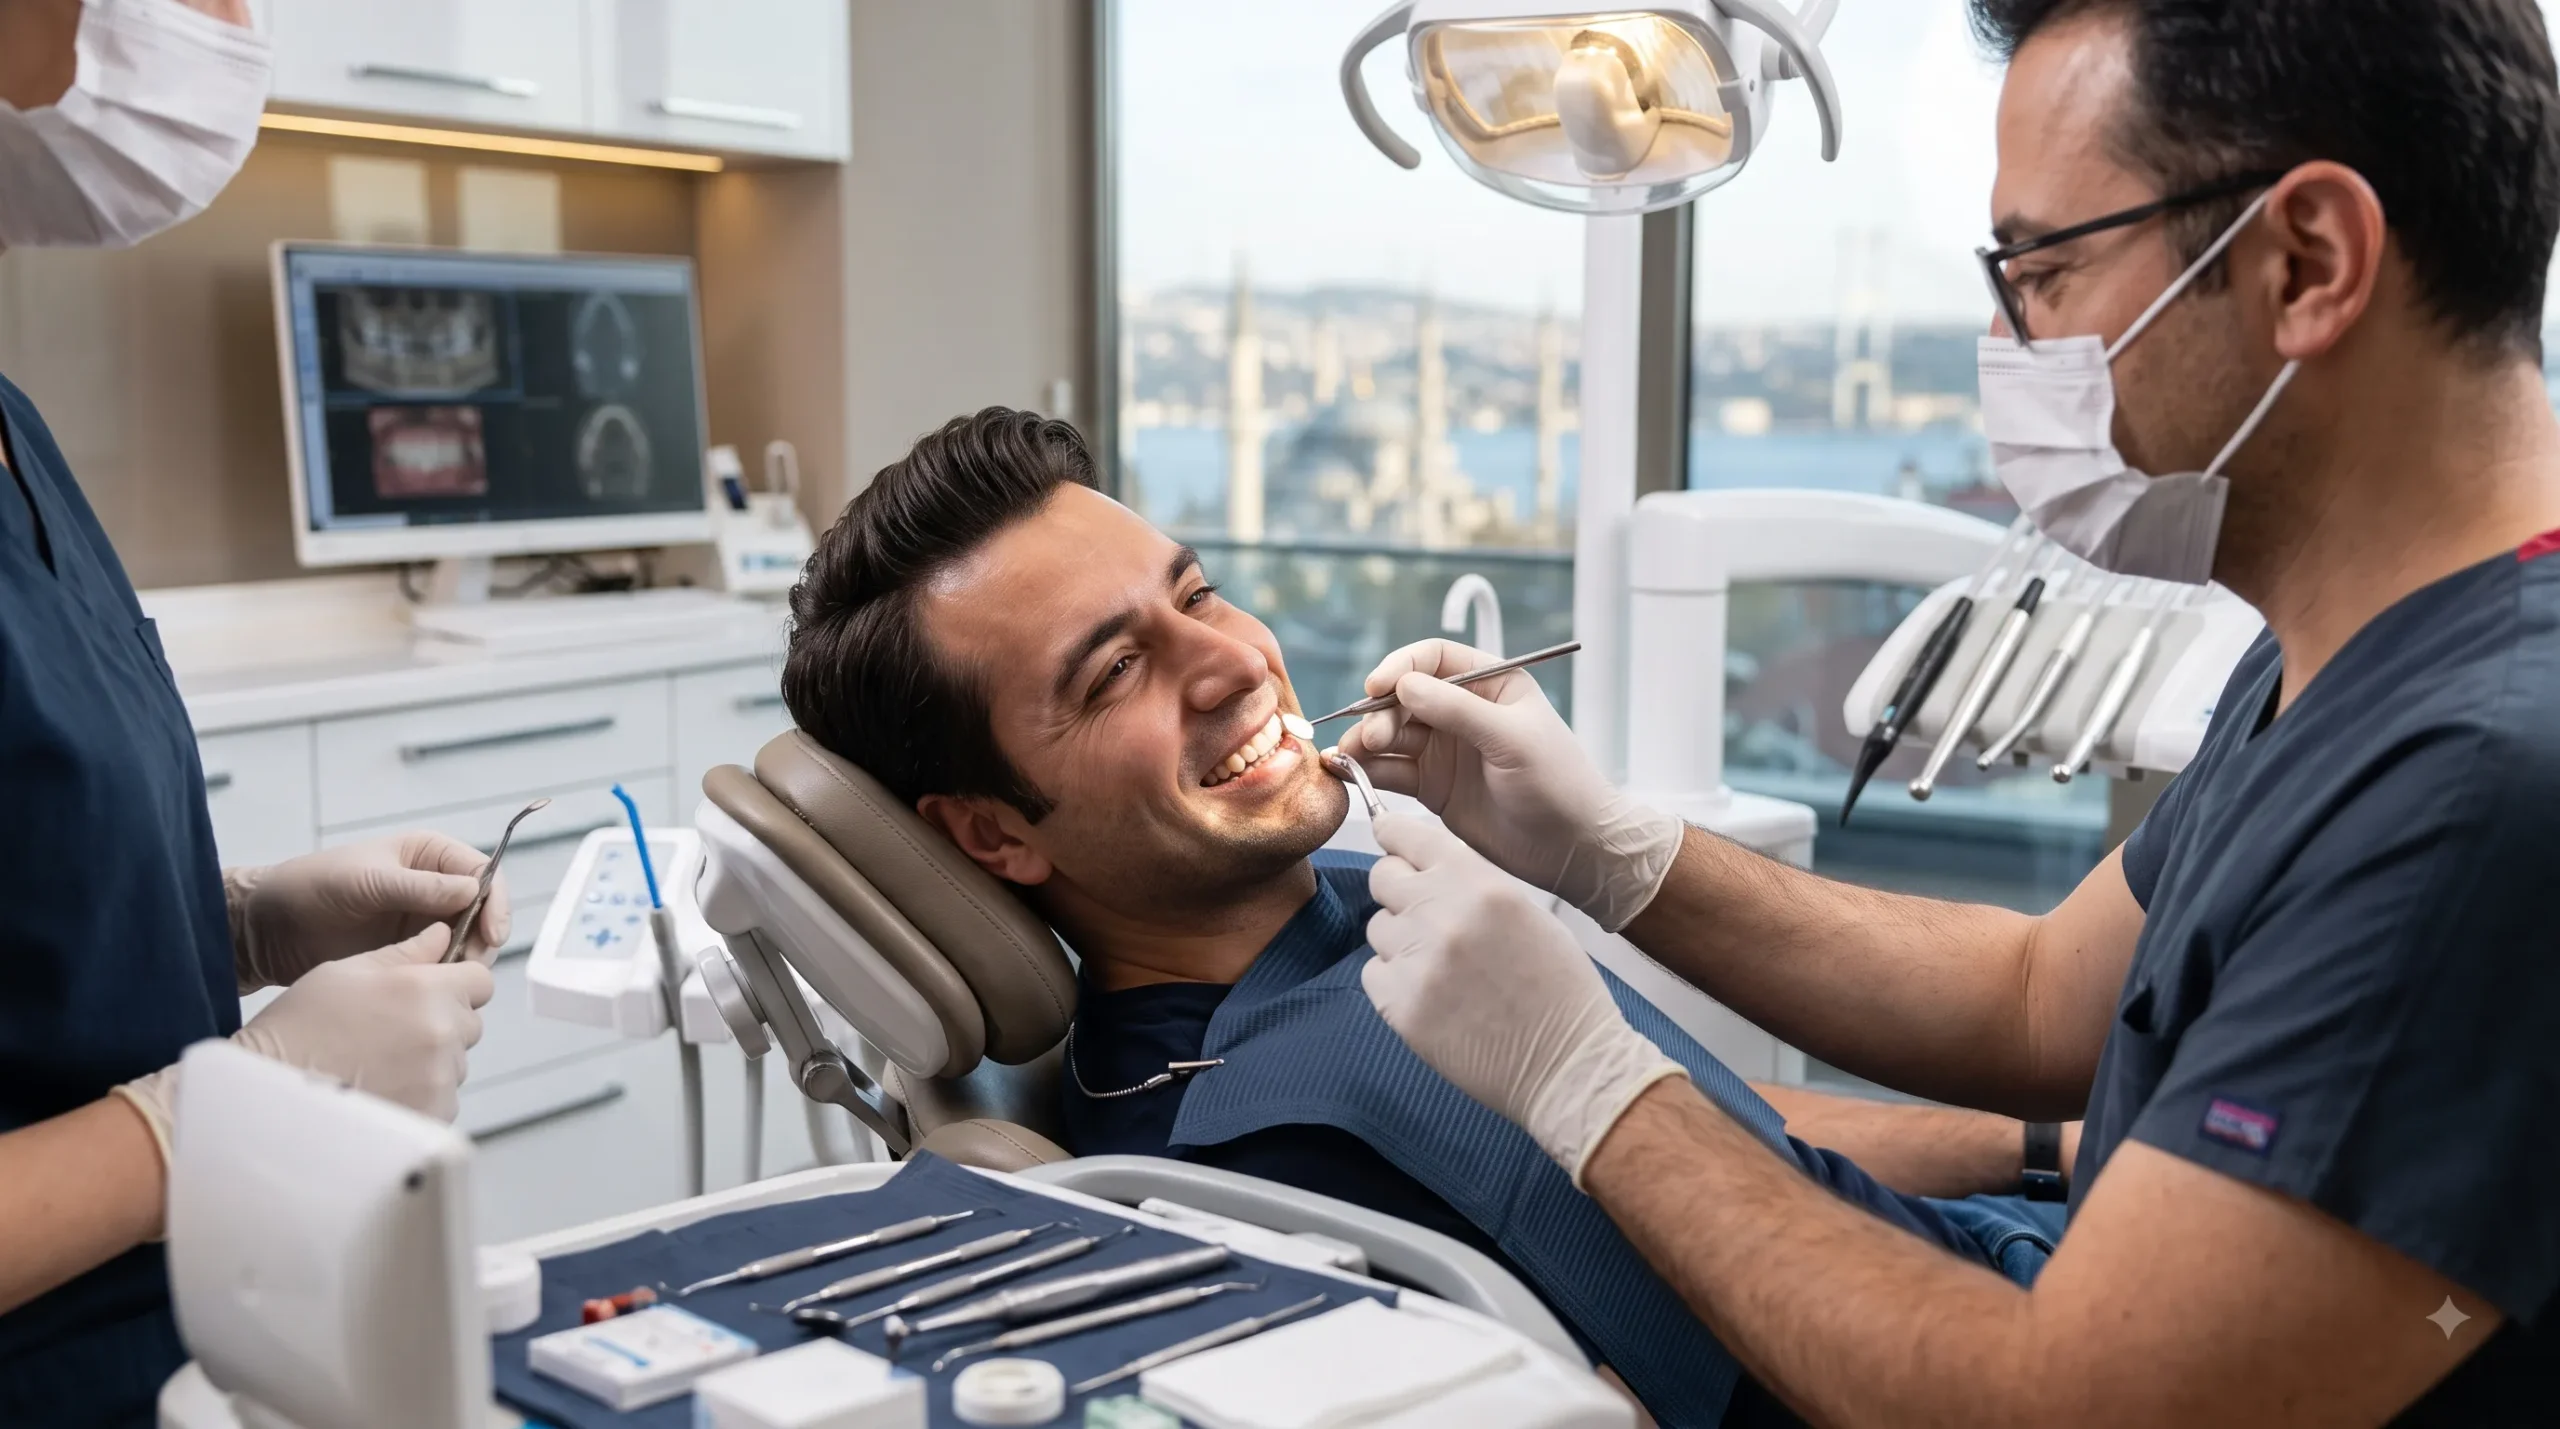
Step 1: Initial Consultation and Case Assessment
The Hollywood Smile procedure typically begins with an online consultation, where you share photographs of your teeth and describe your goals. This allows the dental team to give you a preliminary assessment and a starting quote before you travel. Once you arrive at the clinic, this is followed by an in-person exam, including X-rays and a full review of your gum health, bite, and existing dental work.
This stage is where the final treatment plan is confirmed, including how many teeth will be treated, which material is best suited to your case, and whether any preparatory work, such as gum treatment or extractions, is needed first.
Step 2: Digital Scans and Smile Design
Once your treatment plan is confirmed, digital scans of your teeth and face are taken to build an accurate model of your mouth. Many clinics use this data to create a digital smile design, a simulation of your future smile based on your facial proportions, lip line, and personal preferences.
This is your opportunity to review the proposed shape, length, and brightness of your new teeth and request adjustments before any permanent changes are made. Some clinics also create a physical mock-up, allowing you to see and feel an approximate preview directly in your mouth.
Step 3: Tooth Preparation
For most veneer and crown cases, a small amount of enamel is gently removed from the surface of each tooth to make room for the restoration. The amount of preparation depends on the material and technique chosen. Thin, no-prep or minimal-prep veneers require very little enamel removal, while crowns generally require more substantial reshaping since they cover the entire tooth.
Local anesthesia is used during this stage to keep the process comfortable. Once your teeth are prepared, an impression or digital scan is taken to guide the lab in creating your final restorations.
Step 4: Temporary Restorations
While your final veneers or crowns are being fabricated in the lab, temporary restorations are usually placed over your prepared teeth. These protect the teeth, maintain your appearance, and allow you to eat and speak comfortably during the waiting period.
Temporaries also give you a rough preview of your new smile’s shape and length, and many clinics use this stage to gather your feedback before the final restorations are completed.
Step 5: Laboratory Fabrication
Your final veneers or crowns are custom-made by dental technicians based on the approved design, digital scans, and material selected, whether that is E-Max porcelain, zirconia, or another option. This stage typically takes a few days, during which the color, translucency, and shape of each restoration are carefully matched to create a natural, cohesive result.
High-quality labs pay close attention to how the light reflects off each tooth and how the restorations relate to one another, since a Hollywood Smile is designed to look like a complete, harmonious set rather than individual pieces.
Step 6: Trial Fitting
Before permanent bonding, your dentist will place the finished restorations temporarily to check fit, color, and bite alignment. This trial stage is important, since it is often the last opportunity to make minor adjustments to shape or shade before the restorations are permanently fixed in place.
You will be asked to check how your new teeth look and feel, including how they align when you bite, speak, and smile naturally.
Step 7: Final Bonding
Once you and your dentist are satisfied with the trial fitting, the restorations are permanently bonded to your teeth using a strong dental adhesive. Your bite is checked again and fine-tuned to ensure comfort and even pressure across your teeth.
This step marks the completion of the clinical procedure, and most patients are able to see their finished smile the same day.
Step 8: Aftercare and Follow-Up
Before you leave the clinic, you will typically receive detailed aftercare instructions covering oral hygiene, foods to avoid in the first few days, and signs that would warrant contacting your dentist. Many clinics also schedule a follow-up call or virtual check-in a few weeks after treatment to confirm everything has settled comfortably.
- Oral hygiene: Brushing, flossing, and using any recommended mouth rinse to protect your gums and restorations.
- Dietary adjustments: Avoiding very hard or sticky foods for the first few days as your gums settle.
- Habits to avoid: Limiting teeth grinding, nail-biting, or using your teeth as tools, which can affect the longevity of veneers or crowns.
- Regular checkups: Continuing routine dental visits to monitor the condition of your restorations over time.
How Long Does the Full Procedure Take?
Most Hollywood Smile procedures are completed within a single trip of about 5 to 7 days, covering consultation, preparation, lab fabrication, and final bonding. More complex cases involving extractions, gum treatment, or bone grafting may require a longer stay or a second visit after healing is complete.
Your dentist will give you a personalized timeline once your treatment plan is confirmed, since the exact schedule depends on your starting dental health and the material chosen.
Following the Procedure with Valuedent
At Valuedent Clinic, every stage of this process is guided by a dedicated patient coordinator, from your first consultation through your final bonding appointment and beyond. To learn more about what your visit could look like, explore our guide to Hollywood Smile Istanbul with Valuedent.
FAQ: Hollywood Smile Procedure
Is the Hollywood Smile procedure painful?
Local anesthesia is used during tooth preparation to keep the process comfortable. Some mild sensitivity is common in the days following treatment, but it typically resolves quickly with proper aftercare.
How many appointments does the procedure require?
Most patients complete the process in a series of visits within a single trip, typically including consultation, preparation, a trial fitting, and final bonding, spread across 5 to 7 days.
Can I see my new smile before it’s permanent?
Yes. Digital smile design simulations, physical mock-ups, and the trial fitting stage all give you the chance to review and adjust your new smile before final bonding.
What happens if I need an adjustment after bonding?
Minor adjustments are usually made during the trial fitting stage before bonding. If an issue arises afterward, your clinic should have a clear aftercare and follow-up policy in place.
How long do the results of the procedure last?
With proper oral hygiene and regular checkups, well-placed veneers or crowns can last many years, making the Hollywood Smile procedure a durable, long-term investment for most patients.
 Get Treatment Plan